Taking Membrane Switches to Scale: First Steps
Recently my lab mate and I were fantasizing about theoryland. It’s this magical place where you go up to a whiteboard and, using your extensive domain knowledge, allow ephemeral non-toxic marker to create your dream system. But no Expo could predict the real world application’s truth: Murphy’s law. Bringing any system to life is not easy, but it’s worth it.
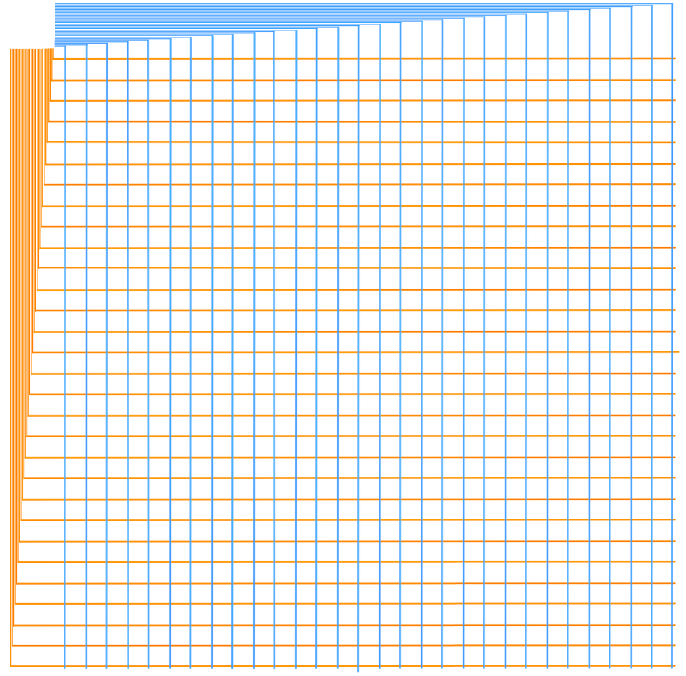
To take a simple keypad prototype to scale, I first followed Dr. Klein’s advice and created a simple “map” of the membrane switch layout at scale:
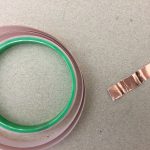
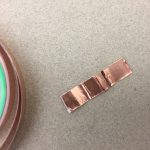
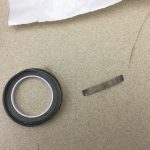
I experimented with multiple materials for the traces:
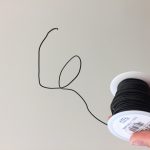
1. Single core copper wire (to be partially sheathed at ‘touch points’ where a row and column intersect)
I laid them out on a 1/4” thick neoprene mat, meant to eventually serve as the ‘insulating separator’ between the two conductive trace layers.
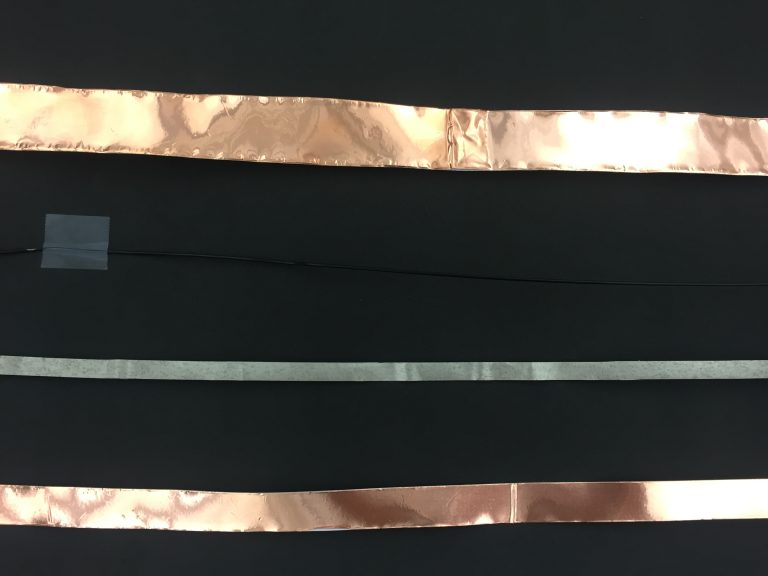
Top to bottom: 1″ copper tape, single core wire, conductive fabric tape, 0.5″ copper tape on neoprene
After testing, the 1″ copper tape won: it provides a wide conductive surface area, sticks with conductive adhesive (can be used to attach wires on the bottom), is relatively durable with repeated use, and (very importantly) stays economical at 60 meters.
The one downside is copper tape’s brittleness: it performs best on hard, flat surfaces and most likely wont allow for a fully soft, flexible quilt when picked up. Thankfully, we interact with the quilt on a flat surface. The touch mechanism can seemingly become ‘part of the table,’ allowing for a soft material on top to become ‘the quilt.’
I’ve begun putting copper tape on the printed grid:
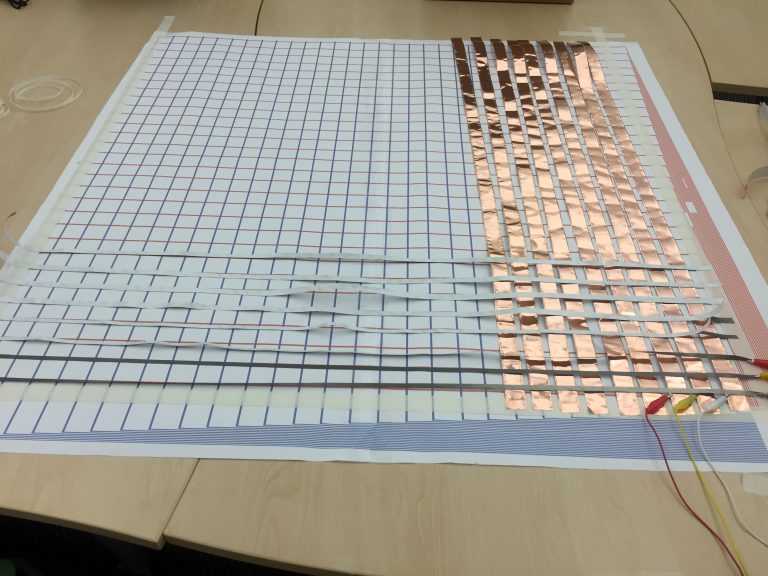
Initial layout on grid – testing copper tape (seen as columns from this angle) and fabric tape (seen as rows, left to right)
So far, the copper tape has not been working very well. I have prototyped with alligator clips, male-male wires (directly on top of the copper tape), and male-male wires in series with resistors. None have worked quite like the silver traces on plastic membranes with male-male wire. I will continue debugging and conduct more research into how to construct a working copper trace membrane keypad, such as a large version of this example.
