Prototyping Membrane Switches
Membrane switches are very simple. Physically, there are no “fancy” materials involved. It’s easy to see why they have been on our microwaves allowing us to accidentally burn PopSecret for many years and counting.
With only the following materials I was able to make a very simple keypad controller:
– silver conductive ink
– plastic sheet
– felt
– electrical wire
– Arduino
I will be first to offer that this is a rough prototype – I simply wanted to prove the concept.
Luckily I was not first to desire a homemade membrane switch. I found a membrane switch Instructable which despite its informal photography and formatting was as useful and straight forward as they come. As shown, making a keypad is very easy!
Prototyping Process
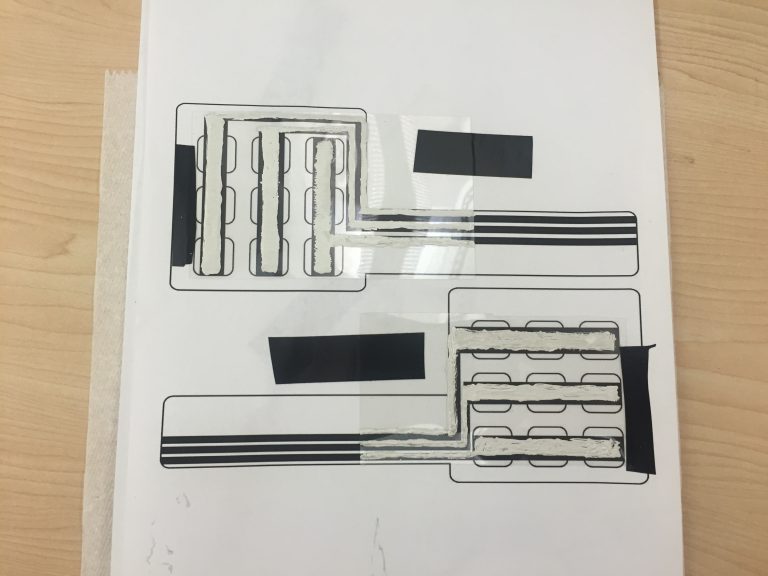
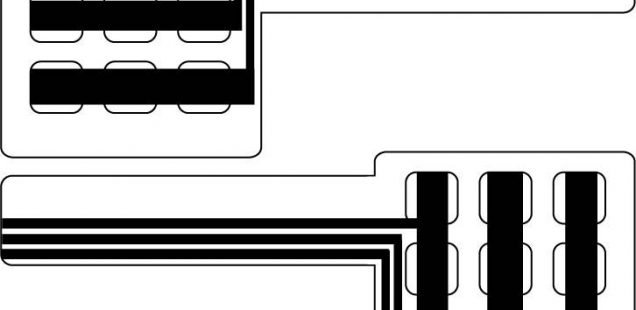
I printed out the following from the Instructable to use as stencils:
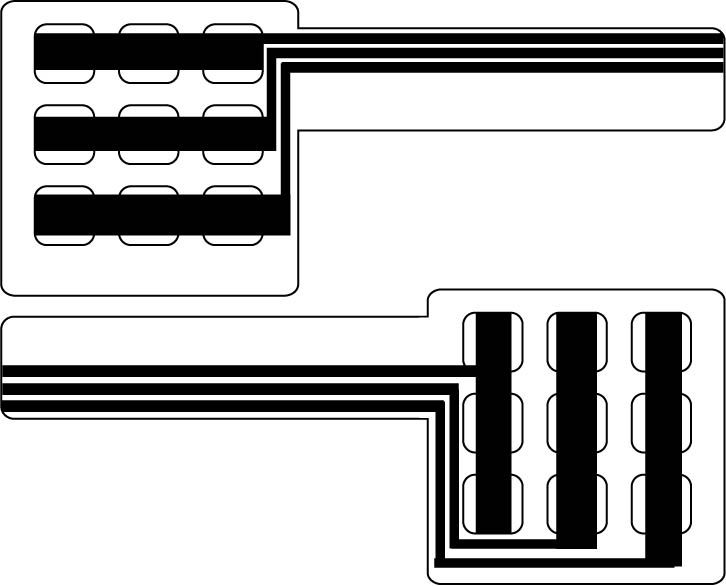
Conductive trace stencil rows and columns, with the slim end being the side that inputs to the Arduino. Source: Instructables, User TheBestJohn
In order to create the following keypad:
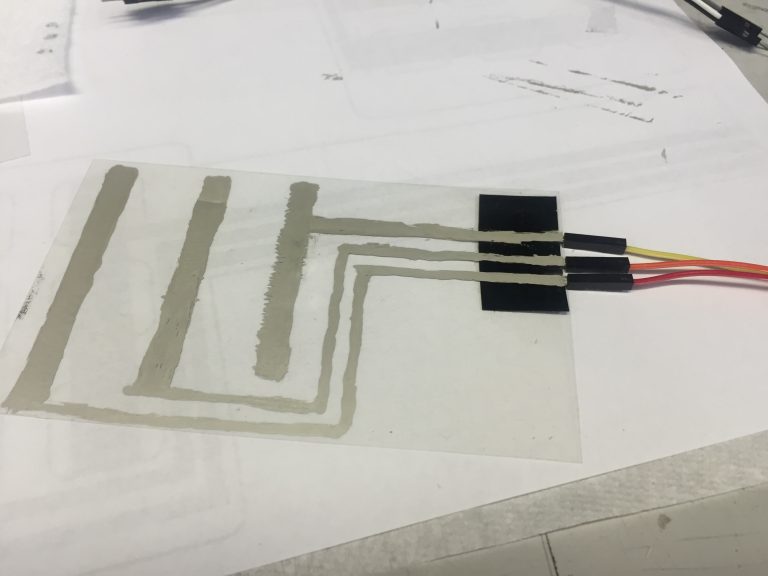
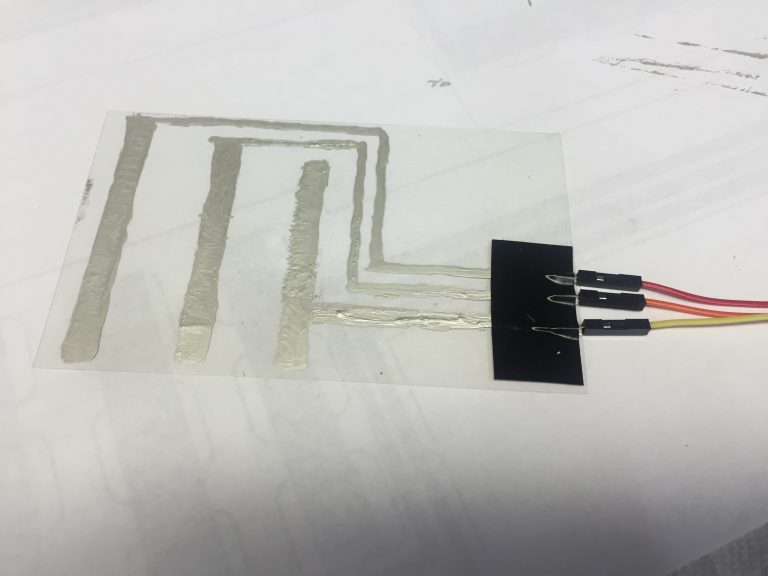
I laid the plastic sheets on top of these stencils and drew traces in silver conductive ink:
Important note: this is not the intended application of silver ink pens. They are used for small repairs. However, I wanted to simulate silver ink printed on a membrane per the manufacturing process. It quickly became apparent as I squeezed the pen with nontrivial effort that either I need to work my grip strength in the gym, or the pen is not designed to be squeezed and drawn for long periods of time.
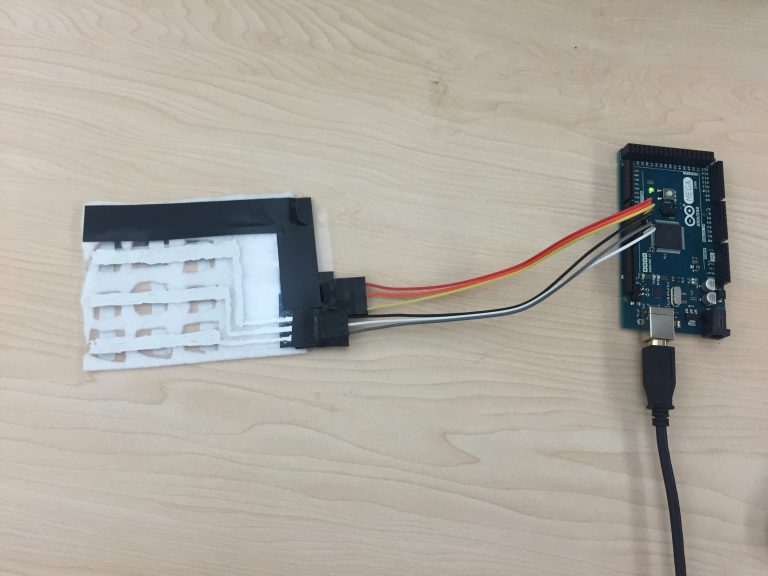
To feed electricity to these traces, on each I attached a male wire using electrical tape and subsequently fed the other end into the Arduino Mega.
Now the conductive trace rows and columns must be separated. I didn’t have the proper “squishy” insulating material on hand and used white felt instead. It was a little too stiff, but worked. This created the final product:
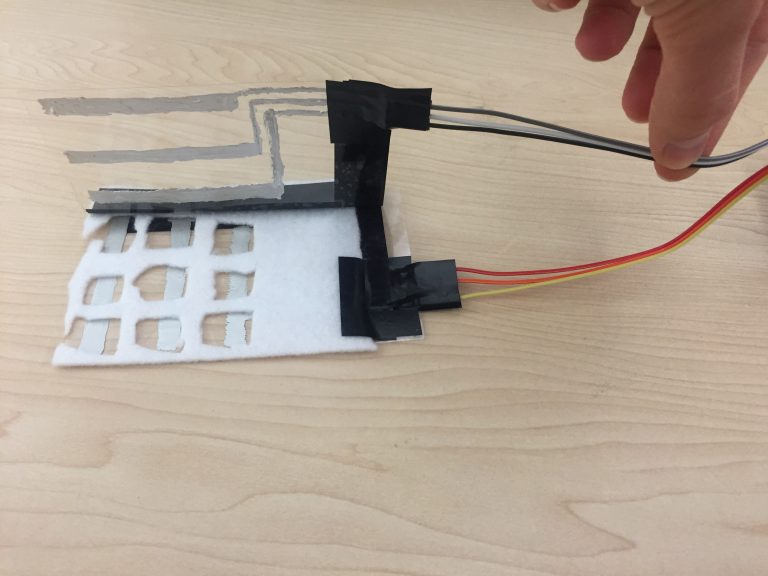
Taking a look “under the hood.” I plead that you refrain from passing judgement on my egregiously uneven felt holes
I tested the keypad with the provided Arduino code (link to download from the author) and it worked perfectly:
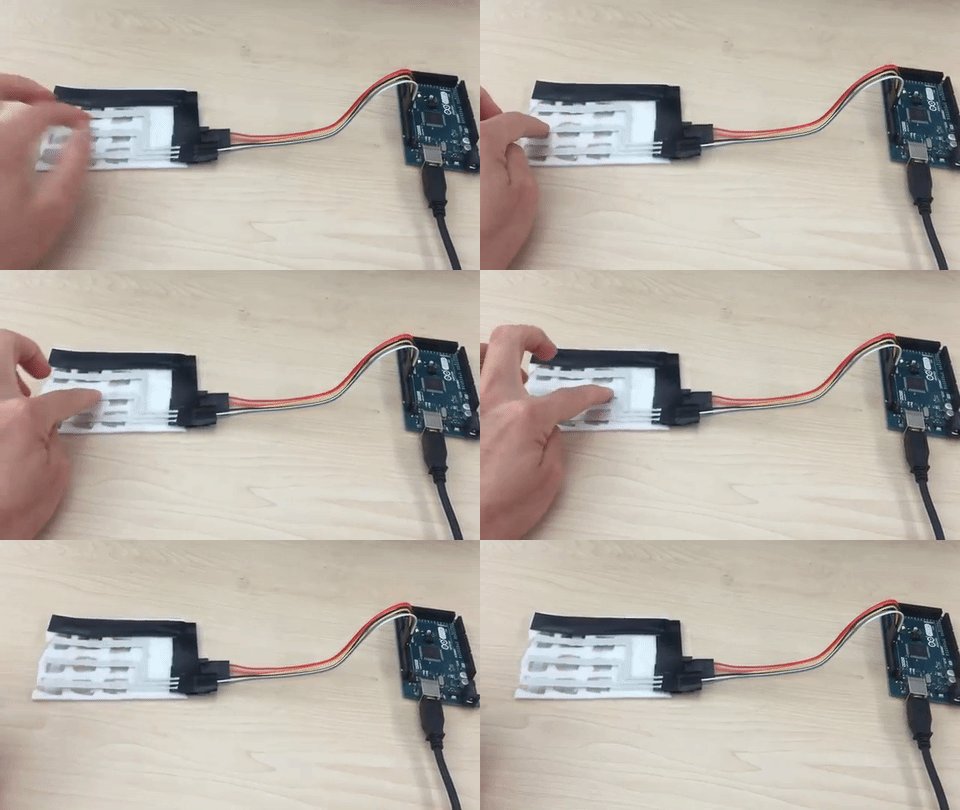
Testing, testing: numbers “4, 5, 6” on keypad
I created a cover for the keypad as well, but the felt was too stiff to allow a working control mechanism through both felt and paper.
Final Thoughts
This design working so well simply brightened my day. No need for capacitive touch’s serious grounding and no problem. Next, we need conductive material that can stay affordable at 60 meters (60 rows, columns total) and work well across conducive material (1 meter for each row, column).
Implementing touch sensing and light-up feedback with microcontrollers to create Elizabeth Peadbody’s quilt is fitting to her way-ahead-of-its-time belief that play was intrinsic to learning. Our Neo-Victorian quilt is feeling very real, and very exciting.

