Membrane ‘Holes’ Layer
As described previously the membrane switch controller can be created by separating two sets of conductive traces with flexible insulating material in between:
Creating this ‘holes’ layer was a seemingly straightforward yet laborious process – cutting 900 holes precisely ain’t easy!
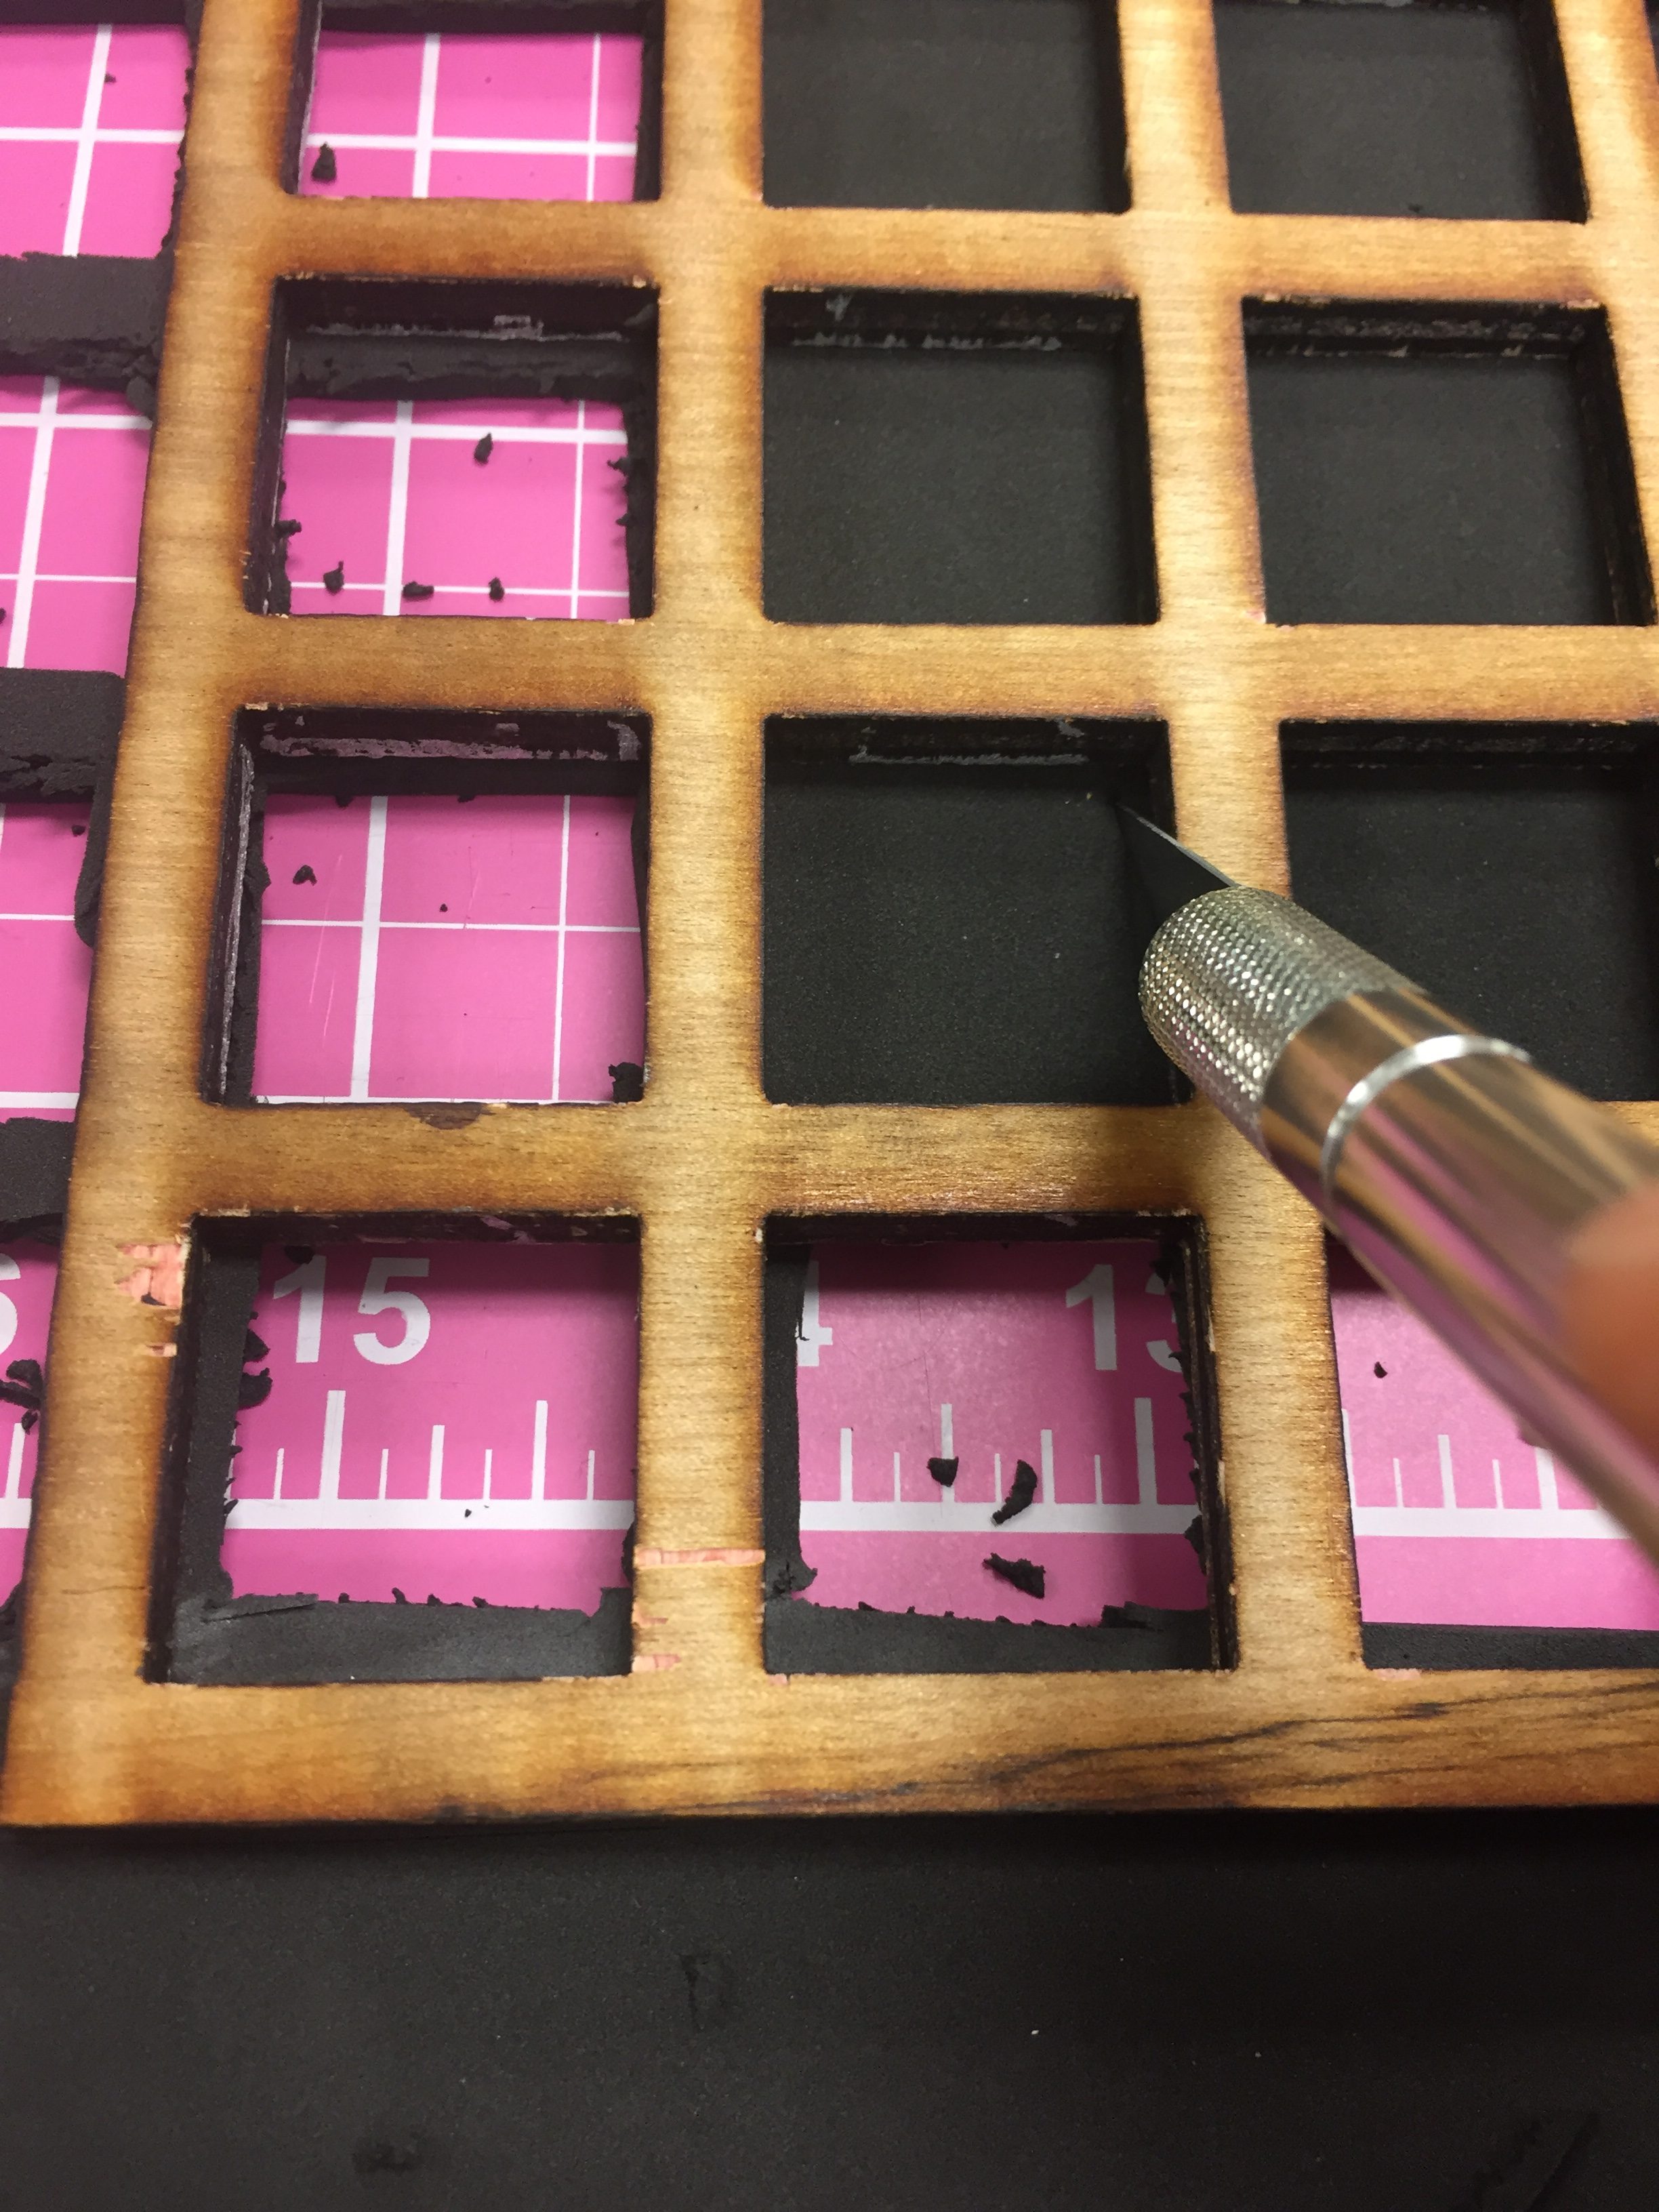
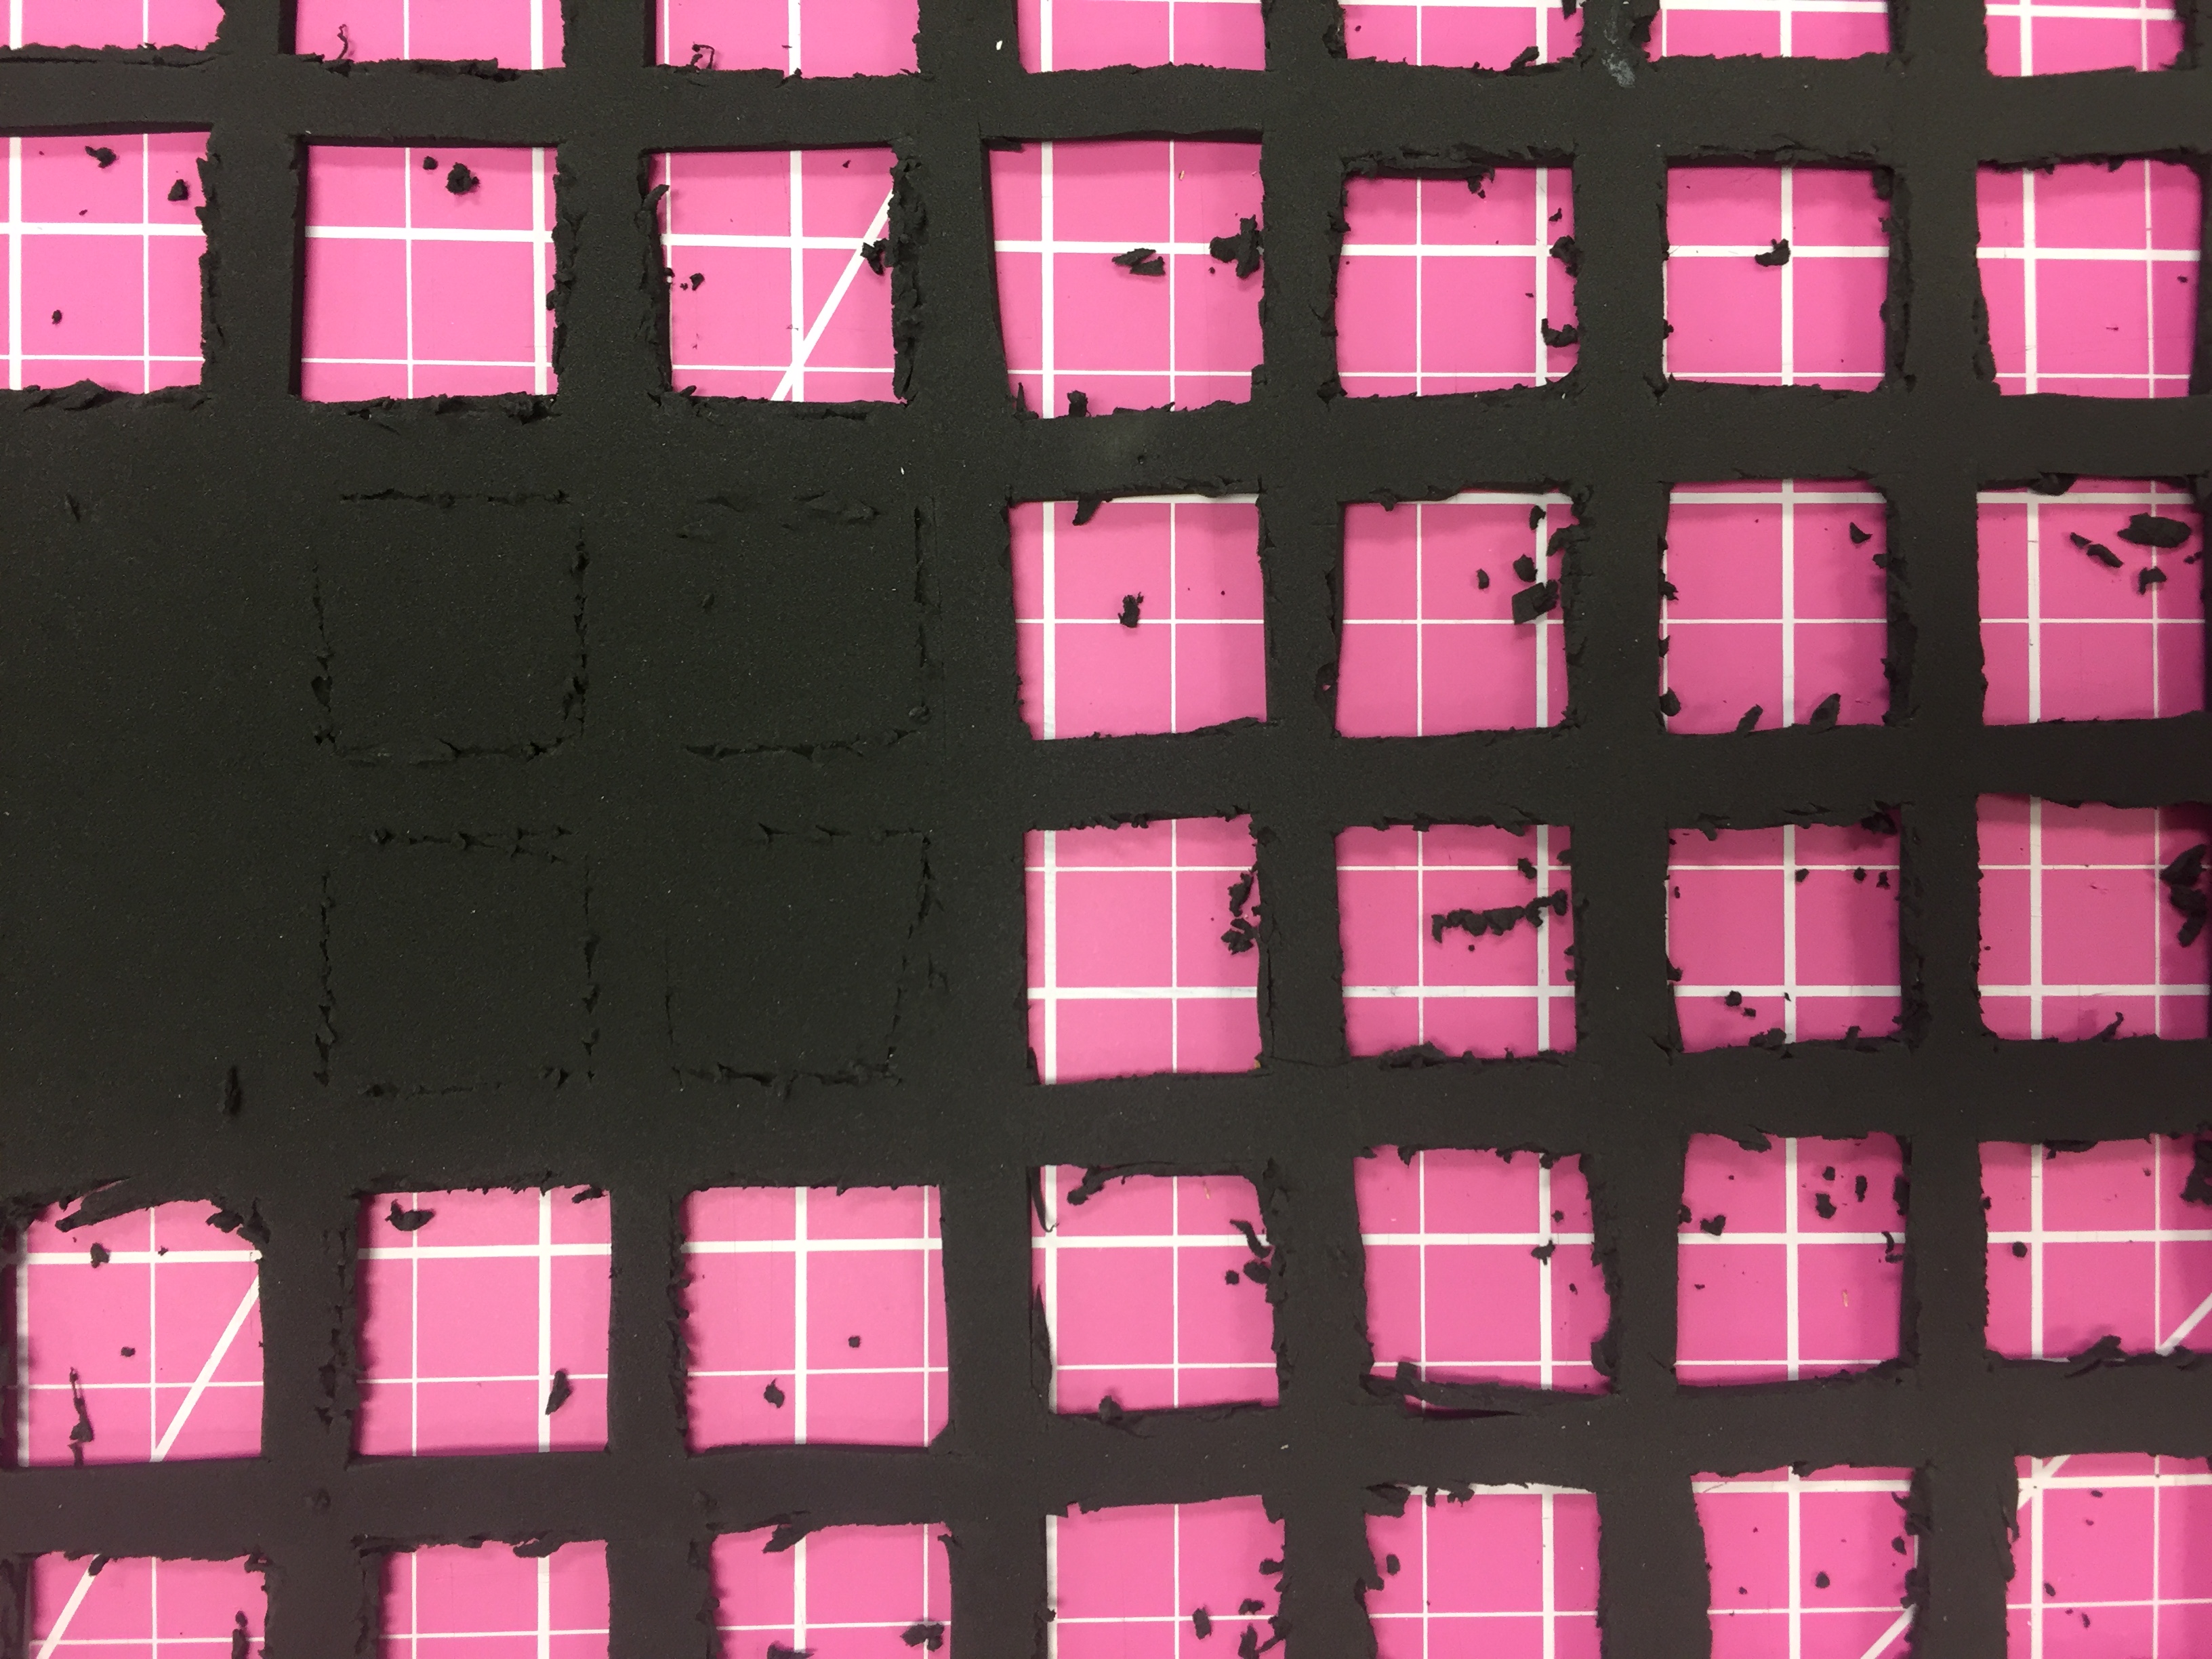
In order to ensure that 30 columns and 30 rows are perfectly exact we used the neoprene cutout stencil to trace and cut squares using an Exacto knife. We also experimented with using a Dremmel cutting attachment, but decided not to use it due to a higher percentage of forced error and lack of safety equipment.
The process loop was as follows:
- Align stencil with as many cut squares as possible, leaving the left or rightmost columns on uncut membrane space.

- Trace squares lightly through stencil. Remove stencil and very slowly cut with Exacto knife. If having difficulty cutting, replace with new blade.
- Check alignment and proceed to next row or column.
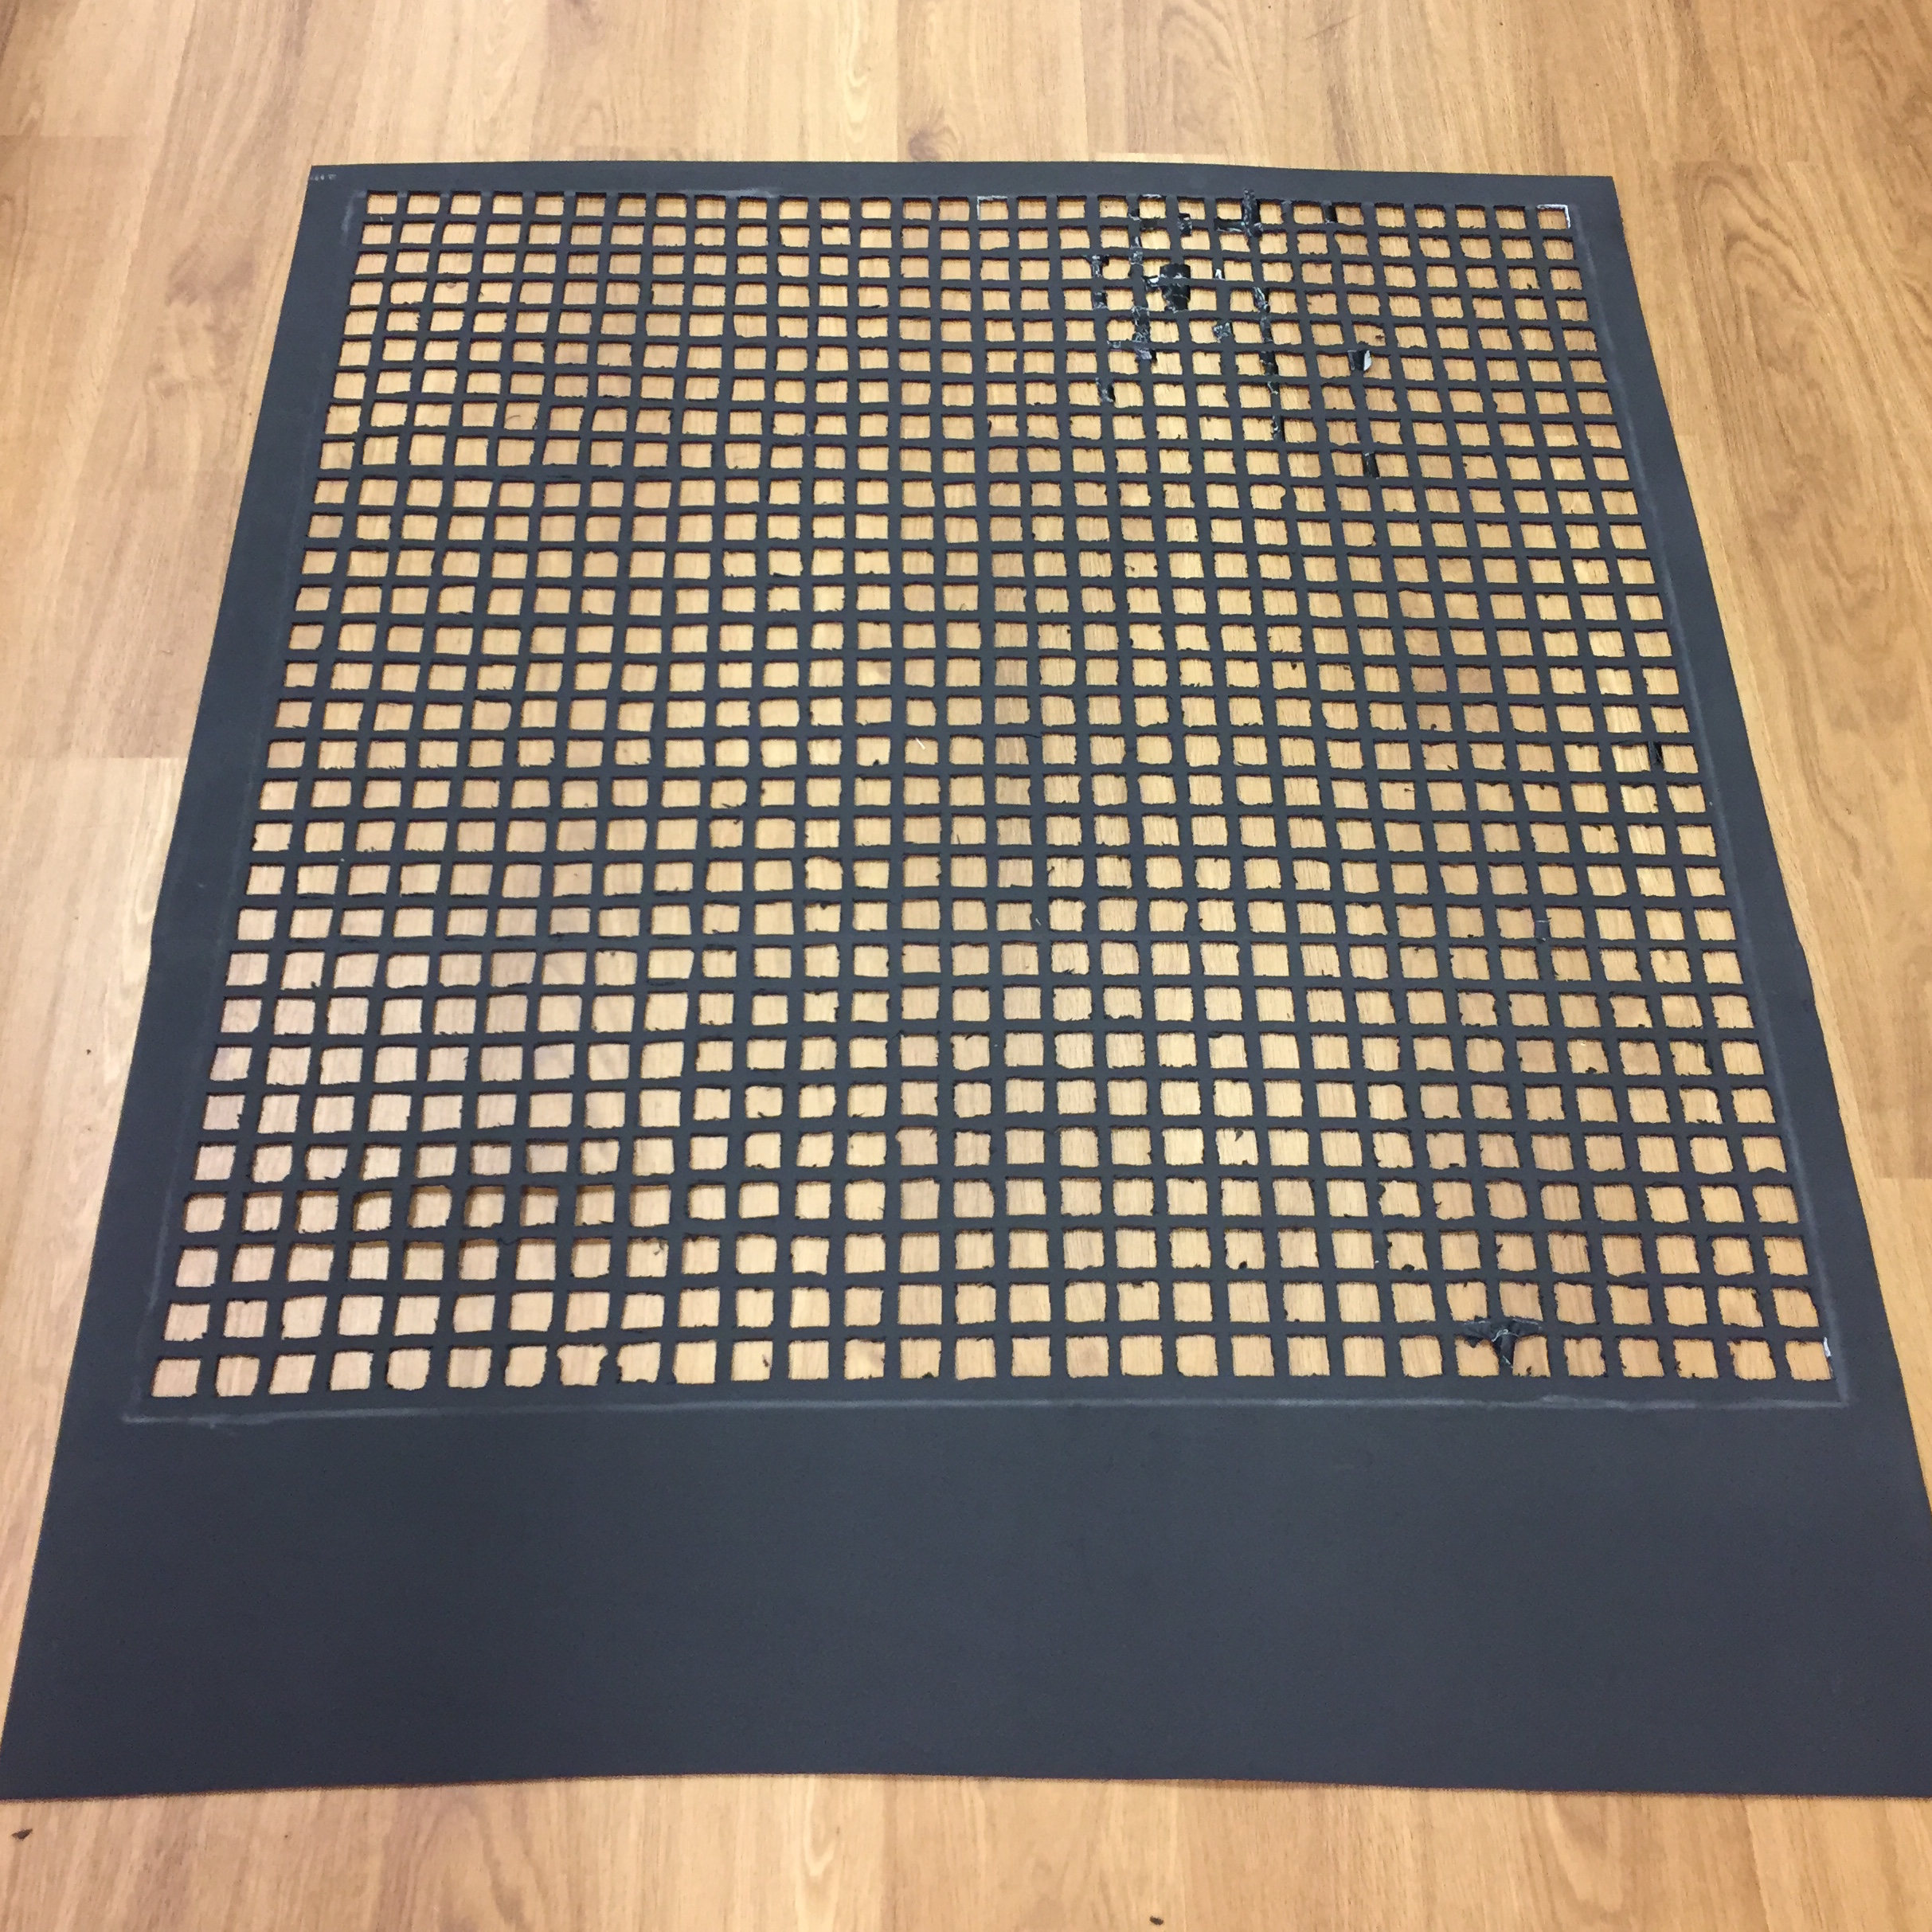
After many hours of work between Mani and me, we completed all 900 holes! Here is the entire grid, some trimming still required:


